Event Scheduler
Suggestion: Add sample upload file in JSON compatible format.
Event Scheduler Overview
The Event Scheduler allows you to trigger an event that has action(s) such as, sending messages in bulk, making a voice call, sending a message via OTT, and Real Time Messaging (RTM) channels. Event scheduler triggers a configured custom event within a service which can be used within a rule to trigger the actions defined in the rule. While creating an event scheduler, you can set a recurrence pattern that will be followed to re-invoke the same event. You can upload a .csv/.txt file or a file fetched from a configured FTP/SFTP location as the source to invoke the event. The recurrence pattern also defines the interval at which the file from the given FTP/SFTP location should be fetched for processing. The values in the file can be separated by a Tab, Semicolon, Comma, Space or any other value.
For example, a bank can automate sending weekly or monthly account balance by SMS or email by dropping files at a fixed FTP location in an agreed format which the event scheduler can pick up as per the set recurring pattern and process.
Event Scheduler Configuration
Follow these steps to schedule an event:
- On the IMIconnect menu, click Event Scheduler. The Event Scheduler screen appears.
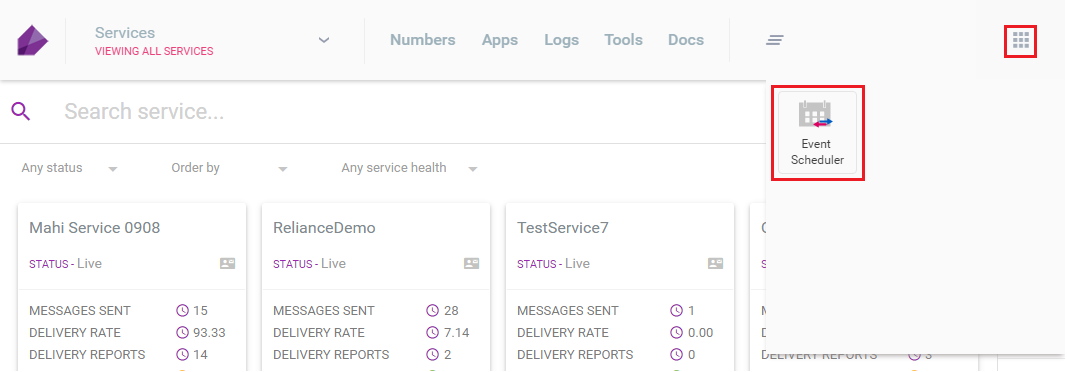
- To create a new trigger, click Click here. Add a new scheduler event.
- In the Name field, enter a trigger name. Select a live service from the Select Service drop-down.
- To send notifications via email, enable Send Trigger notification to Email ID checkbox and enter a valid email ID.
- Click Next.
Type of Action
You can select the one of the following actions, fire through the event scheduler:
Custom Event
SMS
Custom Event
To invoke a custom event, perform the following steps:
- Select Custom Event from Type of Action and select an event from the Invoke Custom Event drop-down. Click Next.
- To upload a file, select from Upload file or FTP.
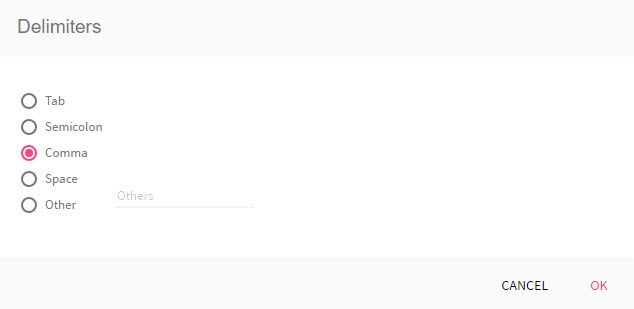
To upload a file from your local device, select Upload file option and drag-drop an input file on to the cloud icon. .csv and .txt file types with delimiters are supported. - Select the delimiters of the file and click OK.
If the file upload is success, the status is indicated with a tick along with the detail count of values read from the provided file. In case of errors or some values are not readable, you can upload the file again.
Notes:
- To schedule an event using Event Scheduler, it is mandatory to create a custom event and a rule that is configured with custom event.
- To invoke an event successfully, it is mandatory to match uploaded files' header parameters with the event parameters.
- Only one file can be uploaded.

- To upload a file that is available on FTP, select FTP and enter the following details:
- File Protocol: Select the file protocol FTP or SFTP from the drop-down.
- Host name: Enter the host name.
- Port: Enter the port number.
- User name: Enter the user name.
- Password: Enter the password.
- File path-(regular expression allowed): Enter the file path.
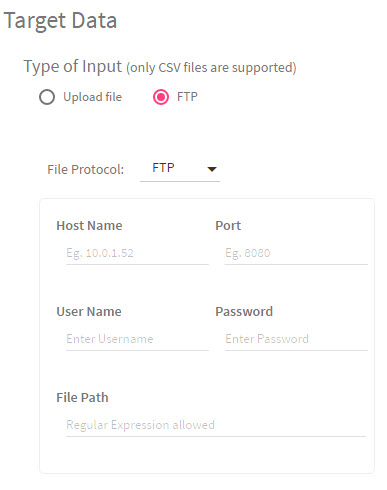
- Click Next.
- Configure the occurrence (schedule) pattern from the following options and click Next:
- Immediate
- One time
- Hourly
- Daily
- Weekly
- Enable the toggle button by changing the status towards right.
All the events scheduled successfully are displayed in Ready state. For events whose scheduling is incomplete are displayed under Draft state.
SMS
To invoke an SMS, perform the following steps:
- From Type of Action, select SMS. Enter values in Action Details.
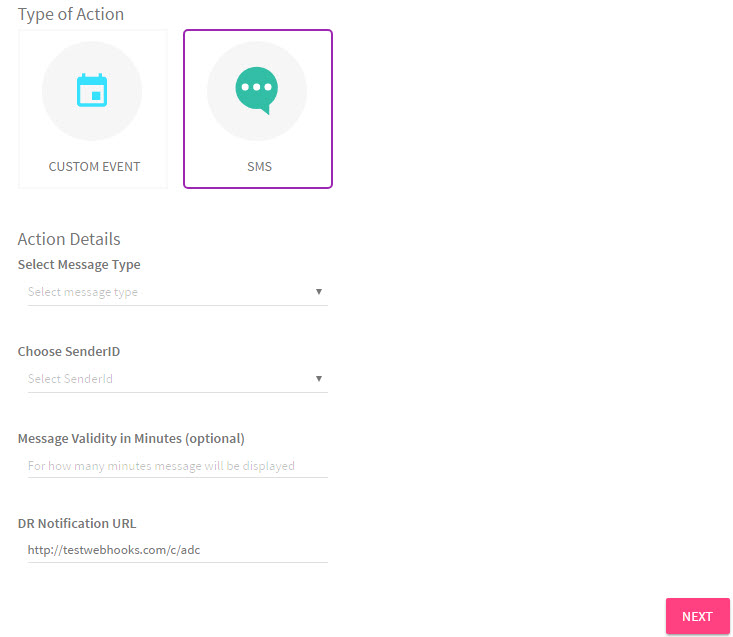
- Select Message Type: Available options are - Test, Binary, Flash, Unicode
- Choose SenderID: Select a value from the drop-down.
- Message Validity in Minutes (optional): Enter time (in minutes) until when the message should be valid.
- DR Notification URL: Enter a notification URL.
- Click Next.
- To upload a file, select from Upload file or FTP.
To upload a file from your local device, select Upload file option or drag-drop an input file on to the cloud icon.
.csv and .txt file types with delimiters are supported. - Select a delimiter click OK.
If the file upload is success, then the status is indicated with a tick along with the detail count of values read from the provided file. In case of errors or some values are not readable, you can upload the file again.
- To upload a file that is available on FTP, select FTP and enter the following details:
- File Protocol: Select the file protocol FTP or SFTP from the drop-down.
- Host name: Enter the host name.
- Port: Enter the port number.
- User name: Enter the user name.
- Password: Enter the password.
- File path-(regular expression allowed): Enter the file path.
- On successful file upload (through either input type), enter the following values under Construct SMS:
- Recipient: Select a recipient from the drop-down.
- Message Body: Enter a message in the text field. You can enter attributes in the message body by typing $ and select from the drop-down. Click Next.
- Configure the occurrence (schedule) pattern from the following options and click Next:
- Immediate
- One time
- Hourly
- Daily
- Weekly
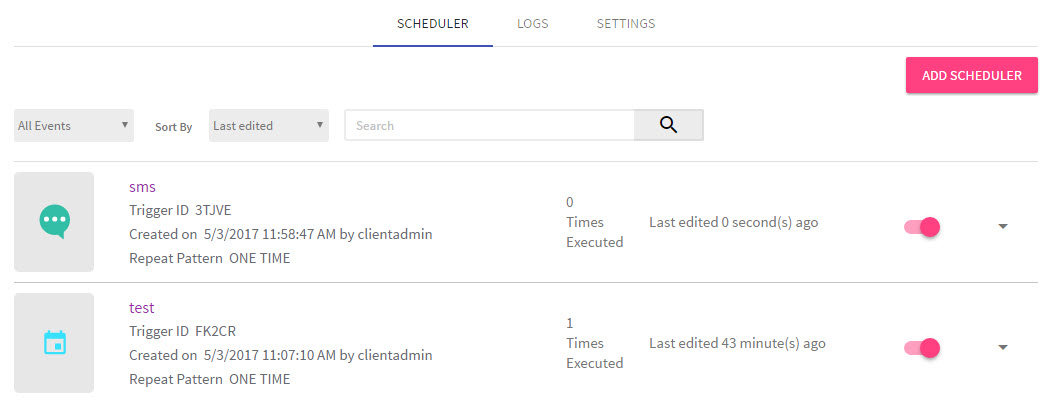
- Enable the toggle button by changing the status towards right.
Additional Options
Click on the inverted triangle to open the menu of an event to view additional options:
- To make changes to an event, click Edit.
- To rename an event, click Rename.
- To delete an event, click Delete.
Logs
Logs provide a detailed overview of the events that have been triggered.
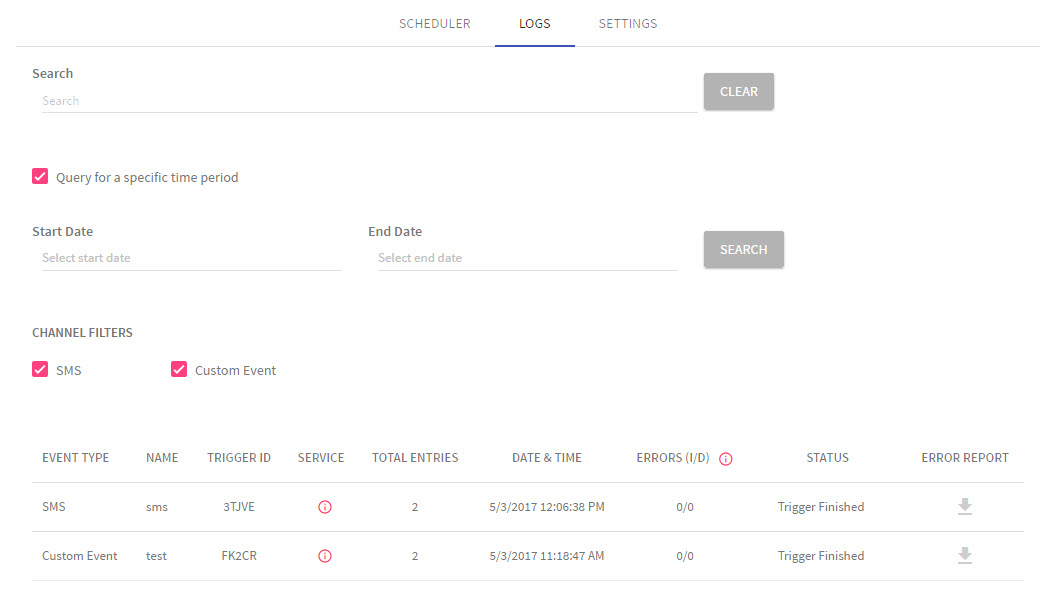
Table below describes the parameters in the log tab.
Field | Description |
|---|---|
Search | Enter a keyword to search a log. |
Query for a specific time period | Enable this option to search for logs that are generated in a specific time period. Enter values in the following parameters:
|
| Channel Filters | Displays the available channels. Enable the checkbox for which the logs are required to be generated. |
| Event Type | Signifies the event type; for example, SMS. |
| Name | Event scheduler name. |
| Trigger ID | Unique ID that is generated when an event scheduler is triggered. |
| Service | Live service in which an event scheduler is created. |
| Total entries | Displays the number of schedules. |
| Date & Time | Date and time when the event was scheduled. |
| Errors (I/D) | Lists the number of Invalid or Duplicate IDs. |
| Status | Displays the trigger status; for example Trigger Finished. |
| Error Report | Downloadable report that lists the errors. |
Settings
The tab displays the current FTP settings.

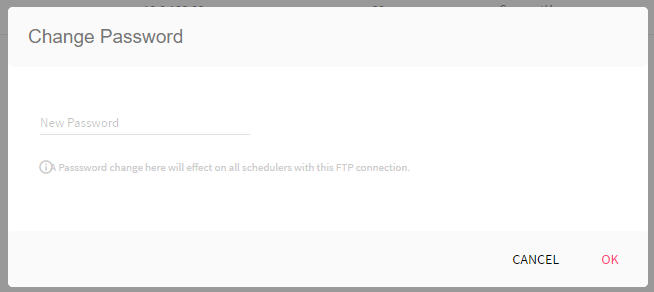
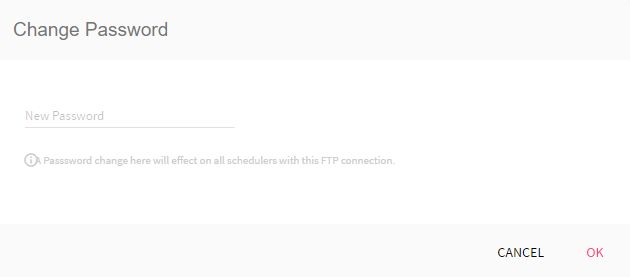
The change password option allows you to change the FTP password. On successful password update, it is reflected across all the triggers where FTP is enabled.
Updated almost 3 years ago