Business Calendar
Business calendar application enables clients to schedule calendars. Each calendar has a unique calendar ID which can be referenced to use a particular calendar.
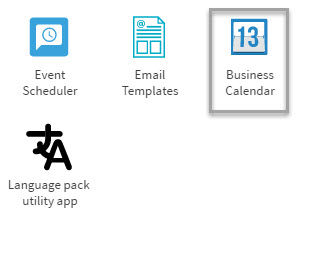
You can configure a business calendar, by selectingBusiness Calendar from the Apps menu.

Figure 1: Business Calendar
The business calendar landing page is displayed, as shown in the image below.
The following topics are covered in this document:
Add Calendar
Manage Calendar
Delete a Calendar
Add Calendar
To add a new calendar, perform the following steps:
- Click ADD CALENDAR.
- In the ADD CALENDAR pop-up, enter a calendar name and description.
- Click Save.
The new calendar is displayed on the landing page; it can be enabled or disabled by using the ENABLE / DISABLE toggle bar.

Figure 2: Business Calendar: Landing Page
Clients can search for calendars by searching with a calendar name or using the Sort By drop-down, which has the following values:
- Newest first
- Last modified
Manage Calendar
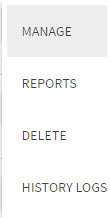
You can add or edit new schedules and manage them using the Manage option.

Figure 3: Manage
To configure your week settings, perform the following steps:
- Select the Schedule for the week tab.
- In the Time Zone select your zone.
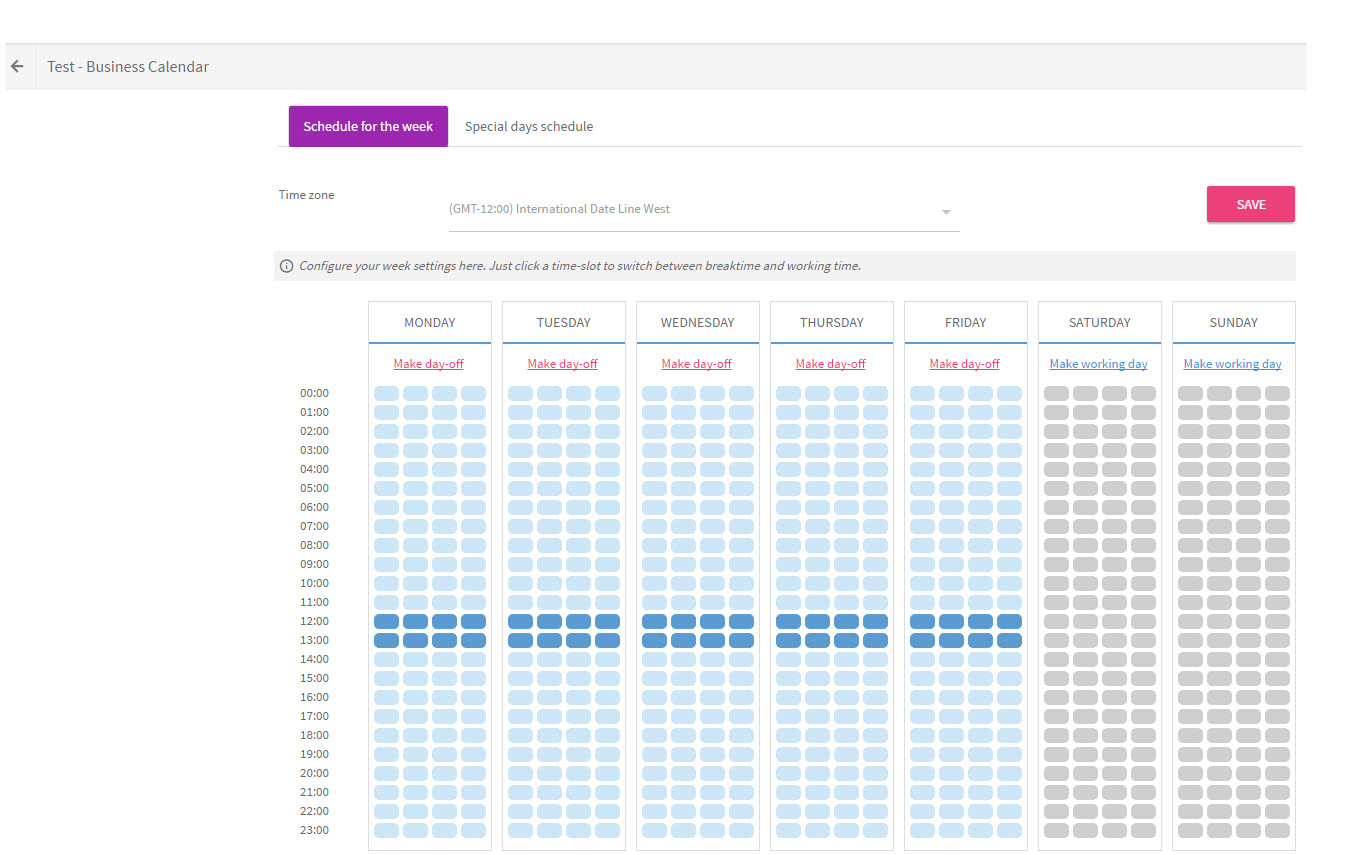
- In the week settings, configure your week settings by clicking a time slot to switch between break-time and work-time.
A sample configuration is shown in the figure below.
You should configure atleast one time slot in a working day.

Figure 4: Calendar Configuration
- Click Save.
- To configure your special day's schedule, select the Special days schedule tab and click on the date.
- In the pop-up, customize the schedule and click Save.
Delete a Calendar
You can delete a calendar by selecting the Delete option.
Updated over 6 years ago