Make a Voice Call to Capture Feedback
[](Let us see, how to initiate a call, triggered by a missed call and capture customer feedback)
Let us see, how to initiate a voice call, triggered by a missed call to capture customer feedback. Let us assume that you are a retailer. As a retailer, you are interested in capturing customer feedback. You provided a phone number on your website asking your customers to give a missed call to provide their feedback. When a missed call is received from a customer, an outbound call gets initiated to the customer. An automated voice will be played such as, "Welcome to . If you are satisfied with our service press 1, if you are not satisfied, please press 2".
The customer feedback is stored for further analysis.
Steps to create a voice flow and capturing feedback (from a missed call).
| Step | Description |
|---|---|
| Buy a Number | Buy the phone number to which a missed call can be given. |
| Create a Service | A service is a work space to hold your assets. Create a service and map the the purchased number. |
| Upload a Voice Media | Upload a voice file that is used by the number when a voice call is triggered. |
| Create a Voice Flow | This is an optional step. Create a voice flow which contains a sequence of steps based on users action. |
| Create a Template | A template is used to publish the voice flow. |
| Create a Rule | Finally, a rule is created to trigger the voice flow. |
1. Buy a Number
We will go through the steps to buy a Phone Number. You can buy phone numbers for 84 countries using IMIconnect. In case you cannot find the country of your interest, you can place an offline request with us.
In case an address is required for purchasing a number for that country, an address form would be displayed to capture the information.
- On IMIconnect menu, click Numbers. The numbers screen appears. For new users, this screen will not display any numbers.
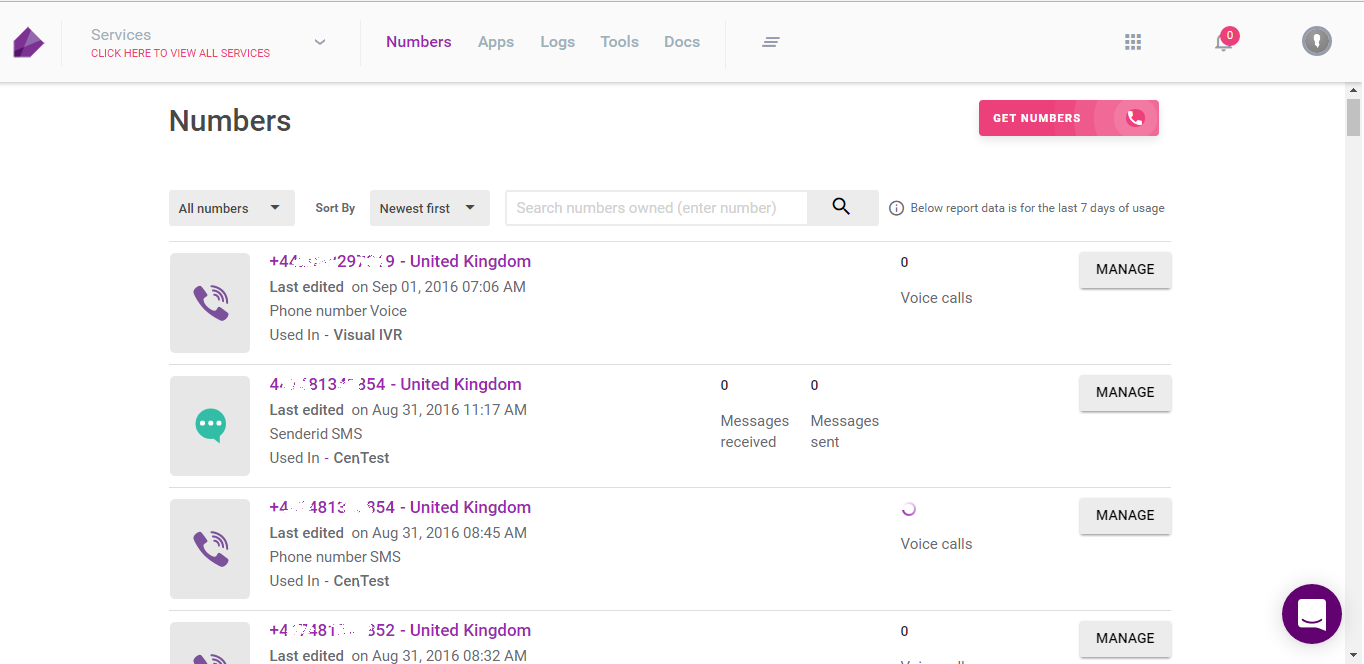
- Click GET NUMBERS and select PHONE NUMBER. The Buy Phone Number screen appears.
- Enter the name of the country and select the country name from the list that appears.
- Click NEXT.
- Select a number type from the options:
- Multi-Function: Capable to make or receive calls and/or send SMS.
- Landline: Capable to make Voice calls only.
- Mobile: Capable to send SMS only.
- Tollfree: Capable to make calls and send SMS.
For this tutorial, let us select Landline option and proceed.
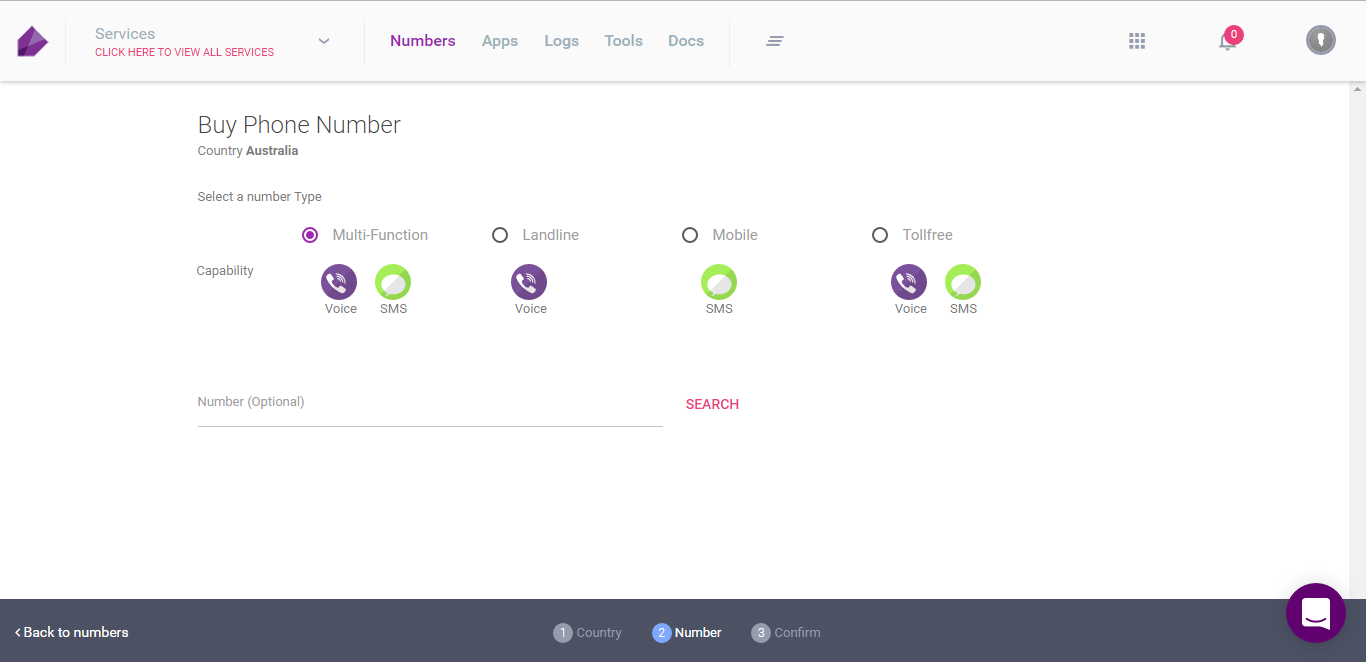
- Number (Optional): Enter the number combination that you prefer. For example 456 or 999.
- Click SEARCH. All the available numbers are displayed along with the monthly rental and inbound voice and SMS rates.
- Select the number from the list and click BUY. A confirmation screen appears.
- Click CONFIRM AND BUY after verifying the details. Another confirmation screen appears.
- Click CONFIRM to buy the number.
When the request is processed successfully, the phone number is displayed in the numbers screen.
2. Create a Service
A service is a localised workspace within your account allowing you to authenticate and authorize all external triggers including the APIs. When you purchase a number, you can configure it with a service. When you create a service, a Service Key is generated. This service key must be used in your API request.
Let us create a service and configure the purchased Phone Number with the service.
To create a service in IMIconnect, follow these steps:
- On IMIconnect menu, click Services. The services window appears.
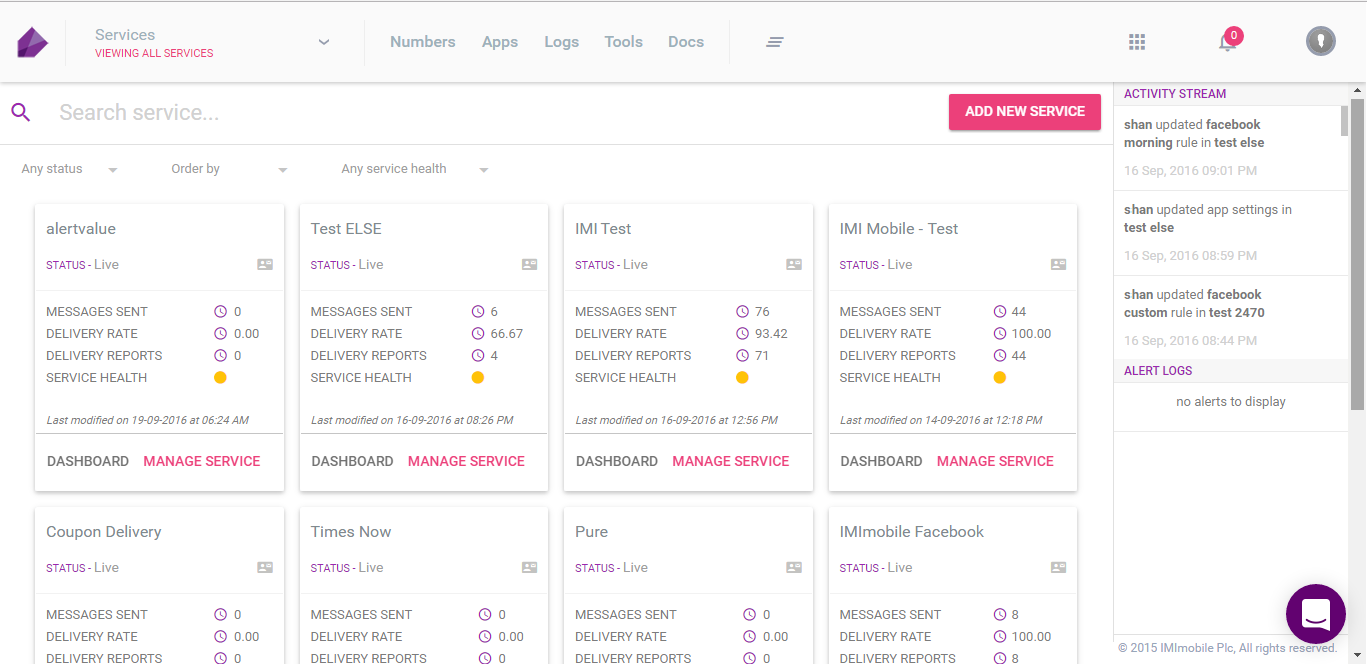
- Click ADD NEW SERVICE button. The create new service screen appears.
- Enter the following details.
- Service name: Enter the name of the service.
- Description: Enter a short description for the service.
- Click NEXT. The service is created and the service General Settings screen appears. You will find the Service Key under General Settings screen. You have to use this Service Key in your API call.
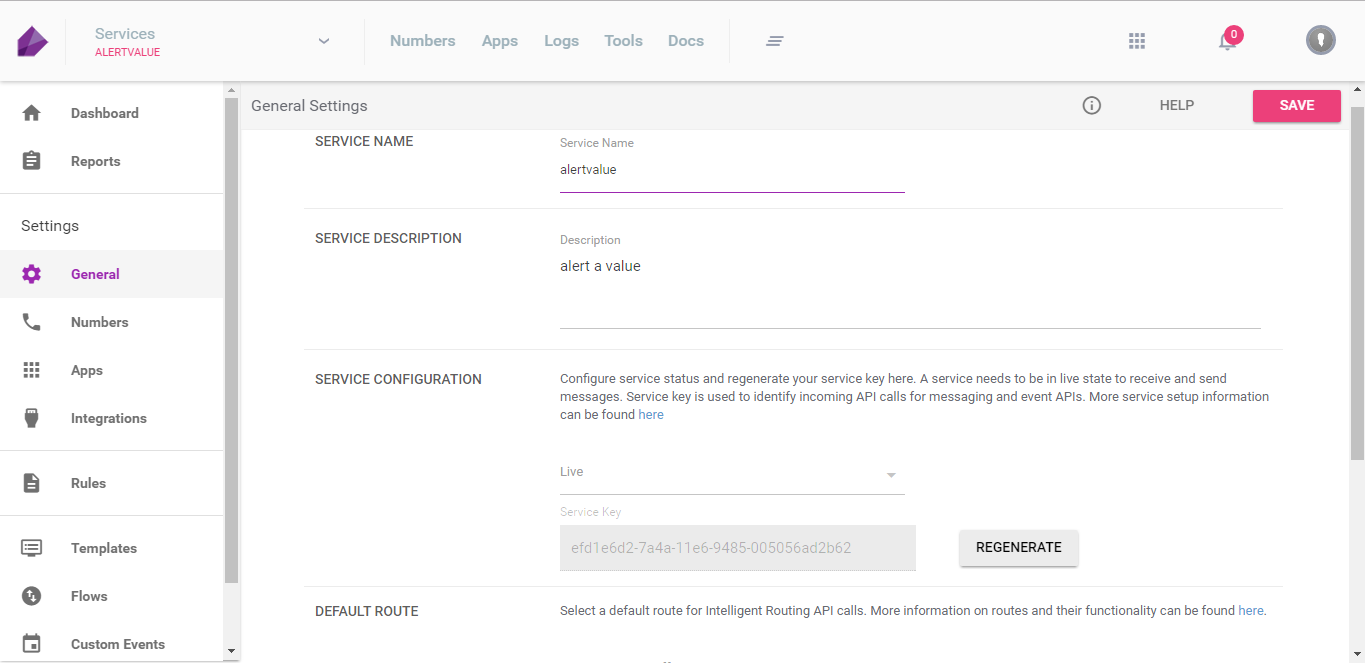
- Click Numbers. From the VOICE NUMBERS drop-down, select the purchased number and click SAVE.
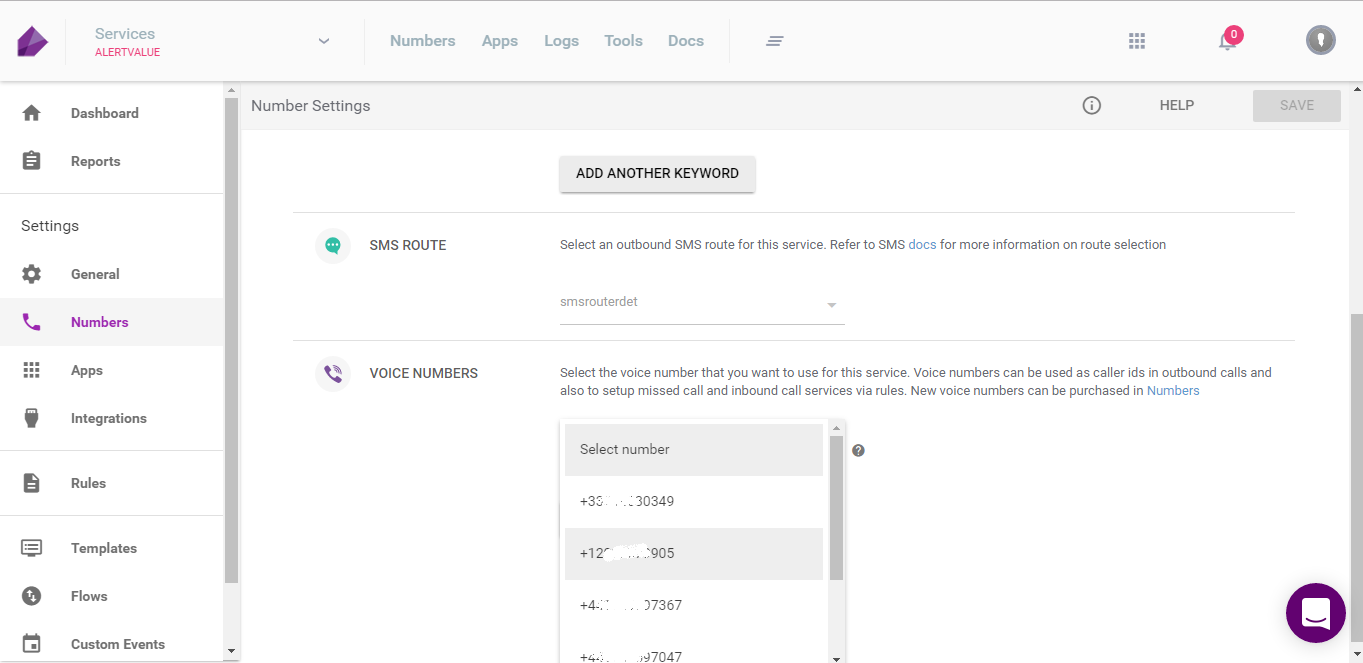
For more information on service configuration, click here .
3. Upload a Voice Media
You have to create a folder, to manage your voice media files. If you do not have a voice file, you can record a voice media file and use it in your voice flow.
To create a folder and upload voice file, follow these steps:
- On IMIconnect menu, click Tools > VOICE MEDIA. The Voice Media screen appears.
- Click ADD FOLDER and enter a folder name to create.
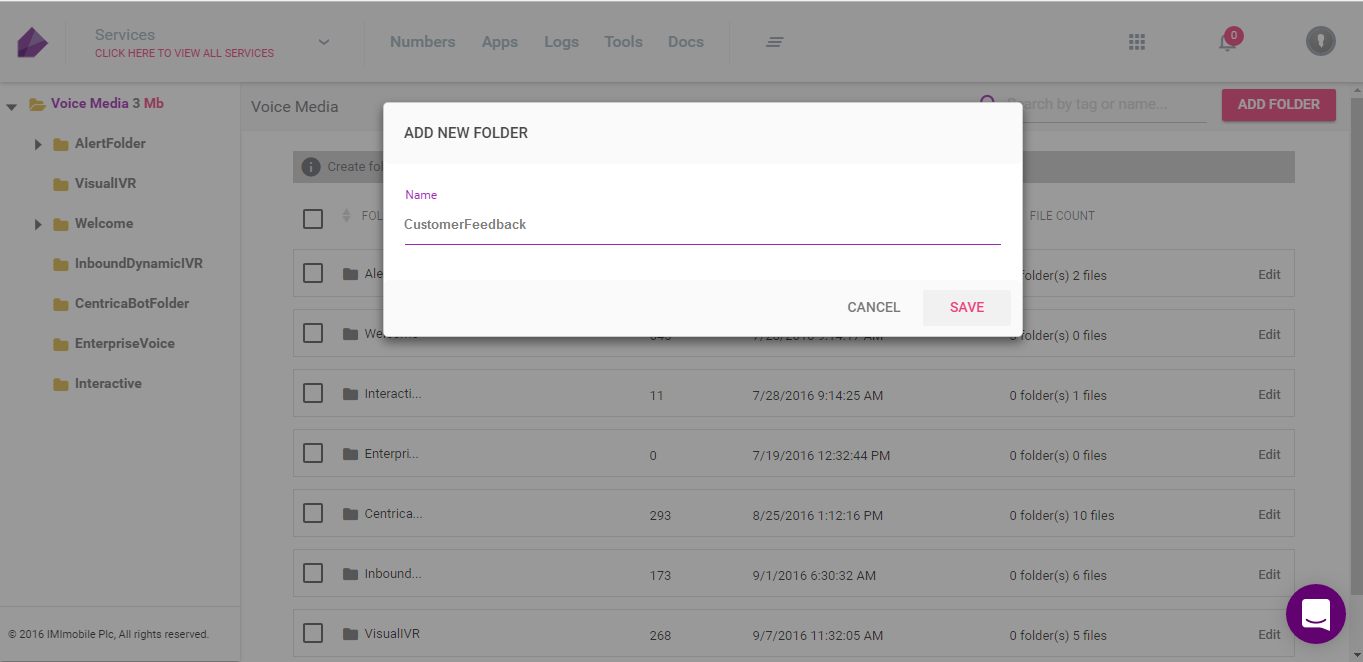
- Click SAVE. The folder is created.
- Click the folder to upload or record a voice clip.
- Click ADD NEW and select UPLOAD.
You can create sub-folders within the main folder using ADD LANGUAGE FOLDER and upload language-specific voice files.
4. Create a Voice Flow
Let us create a voice flow. When a customer gives a missed call, an automated voice flow will be triggered. The customer will be asked with a question and a response is expected from the customer. If the customer responds with an appropriate option, the response will be stored in IMIconnect.
To create a voice flow, follow these steps:
- Click Flows in your service and click ADD NEW FLOW.
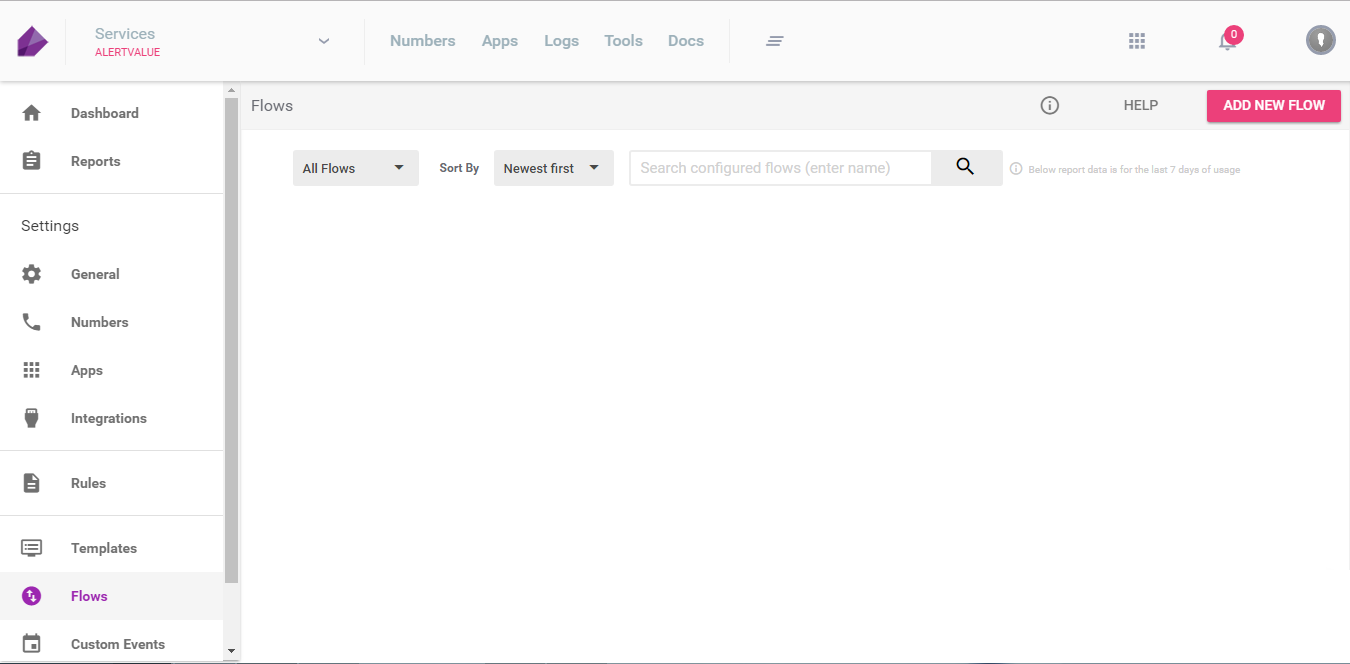
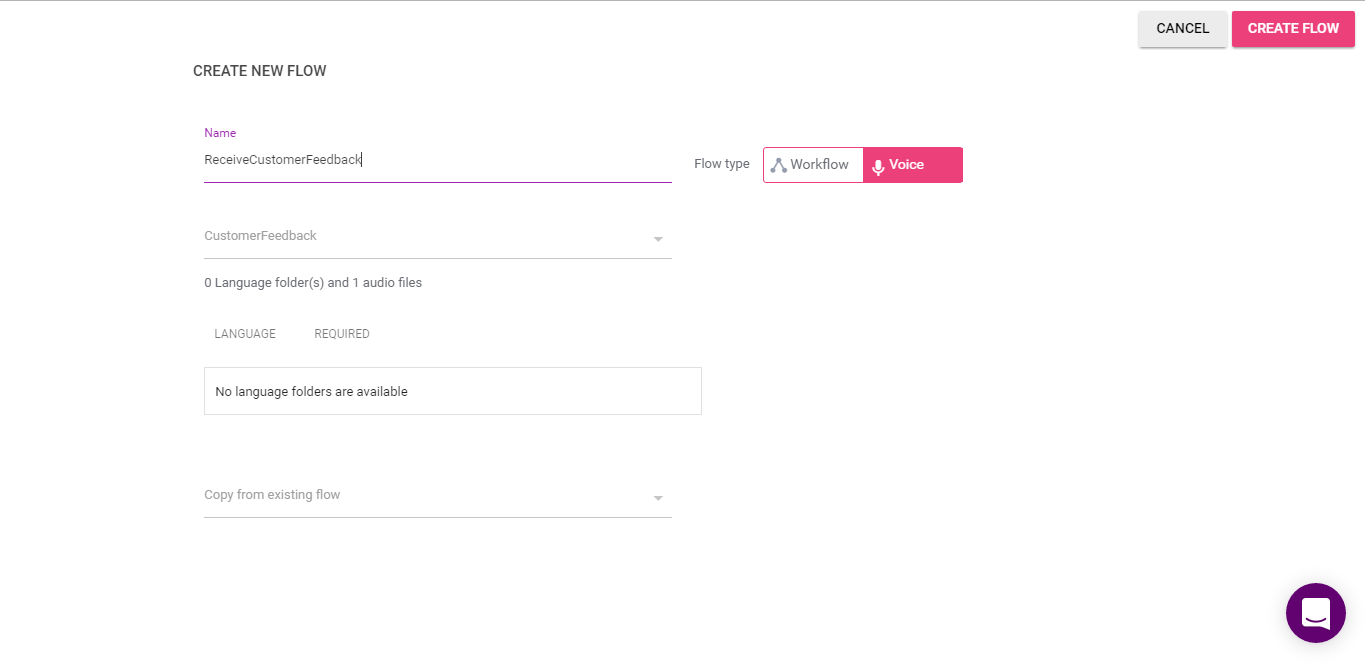
- Select Voice and enter the following:
- Name: Enter the voice flow name.
- Set media folder: Select the folder name where the voice file is uploaded.
- Click CREATE FLOW.
- Create flow to accept keys either 1 or 2 from a customer. The key 1 indicates satisfied and 2 indicates not satisfied. You should have a URL (API) to which the customer response will be notified along with the phone number and response key. To create this flow, add the following nodes:
- Start Node: To start a voice flow.
- Play Node: To play a voice file. Configure DTMF values.
- Call URL: Configure the URL that is called when 1 is pressed.
- Call URL: Configure the URL that is called when 2 is pressed.
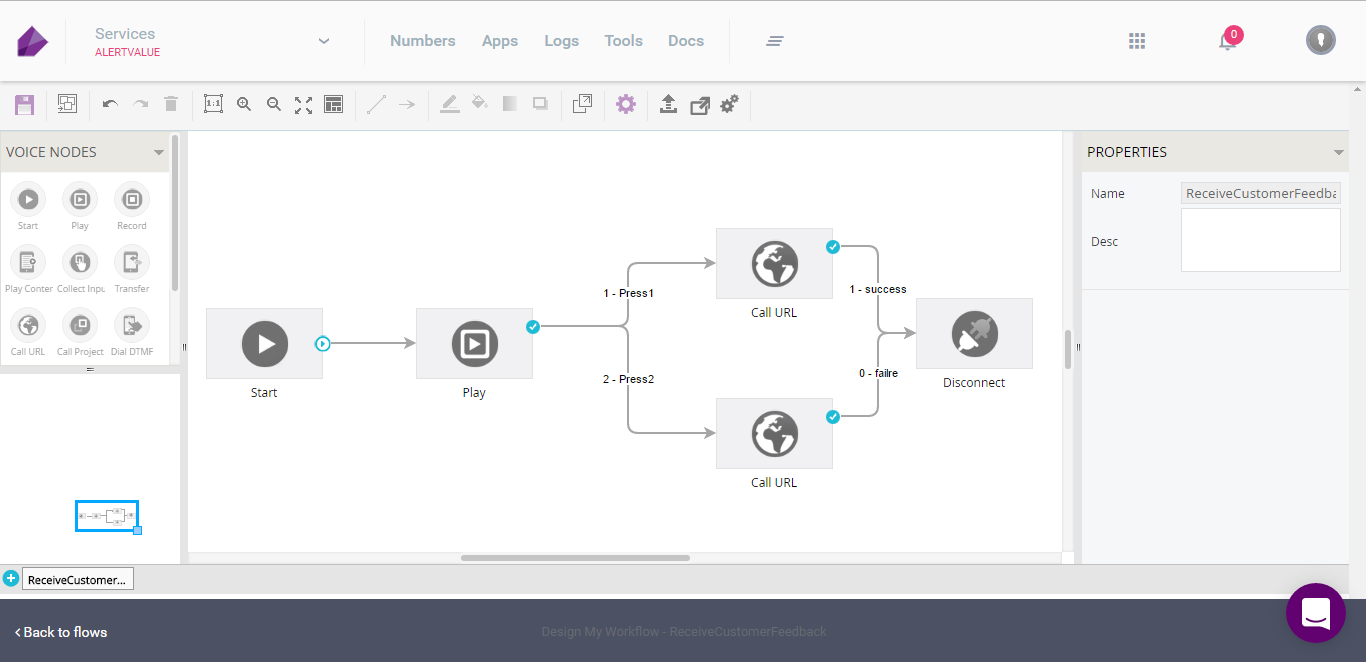
- Click compile and then Save.
- Click Back button to come back to flows screen.
- Click PUBLISH against the flow to use the voice flow in templates and rules.
5. Create a Template
The template will bind the voice number with a voice flow.
To create or add a new template, follow these steps:
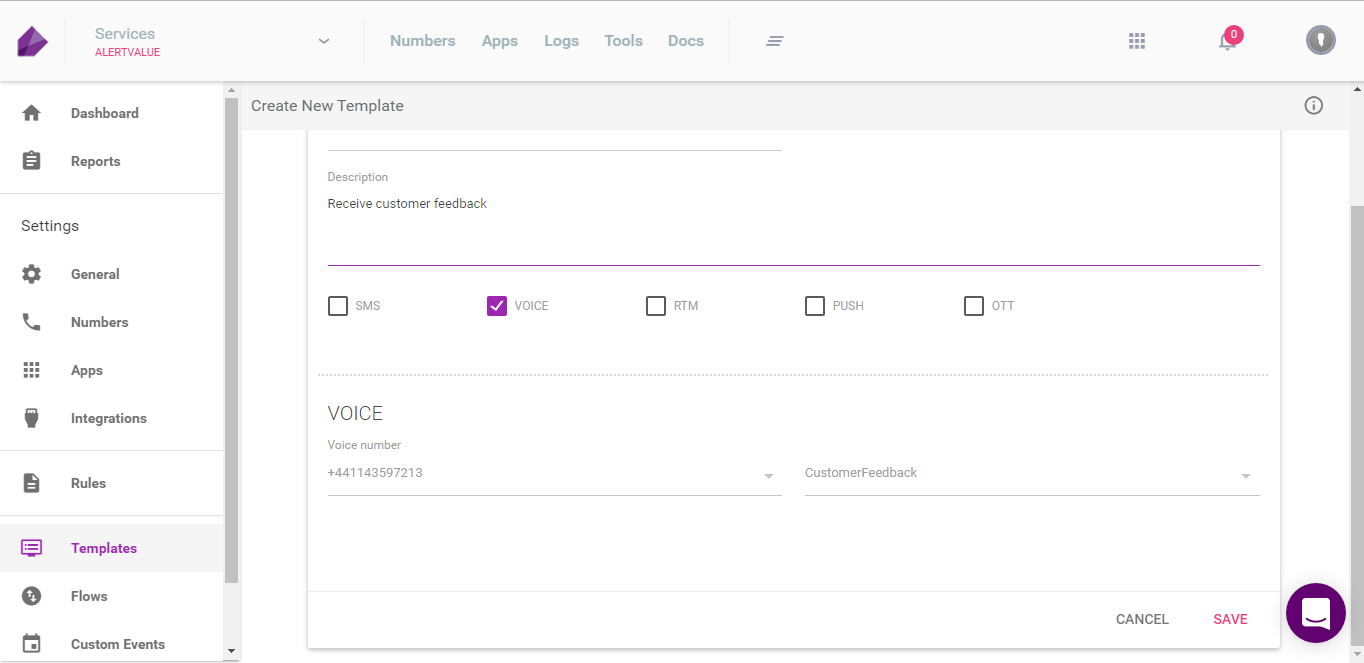
- Click Templates in your service and click Click Here.
- Enter a Name and Description for your template.
- Select Voice checkbox.
- Select Voice number and voice flow .
- Click SAVE.
6. Create a Rule
Rules are created to invoke a flow. You can have multiple rules created for a flow.
To create a rule, follow these steps:
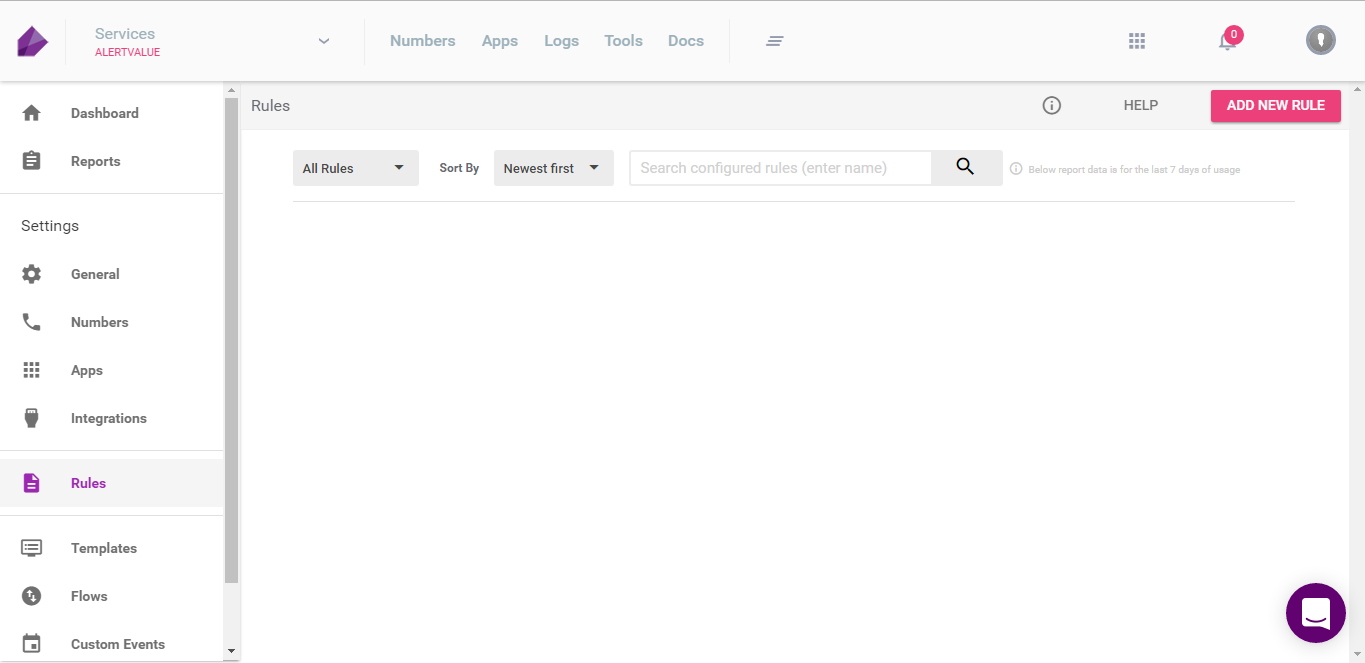
- Click Rules in your service and click ADD NEW RULE.
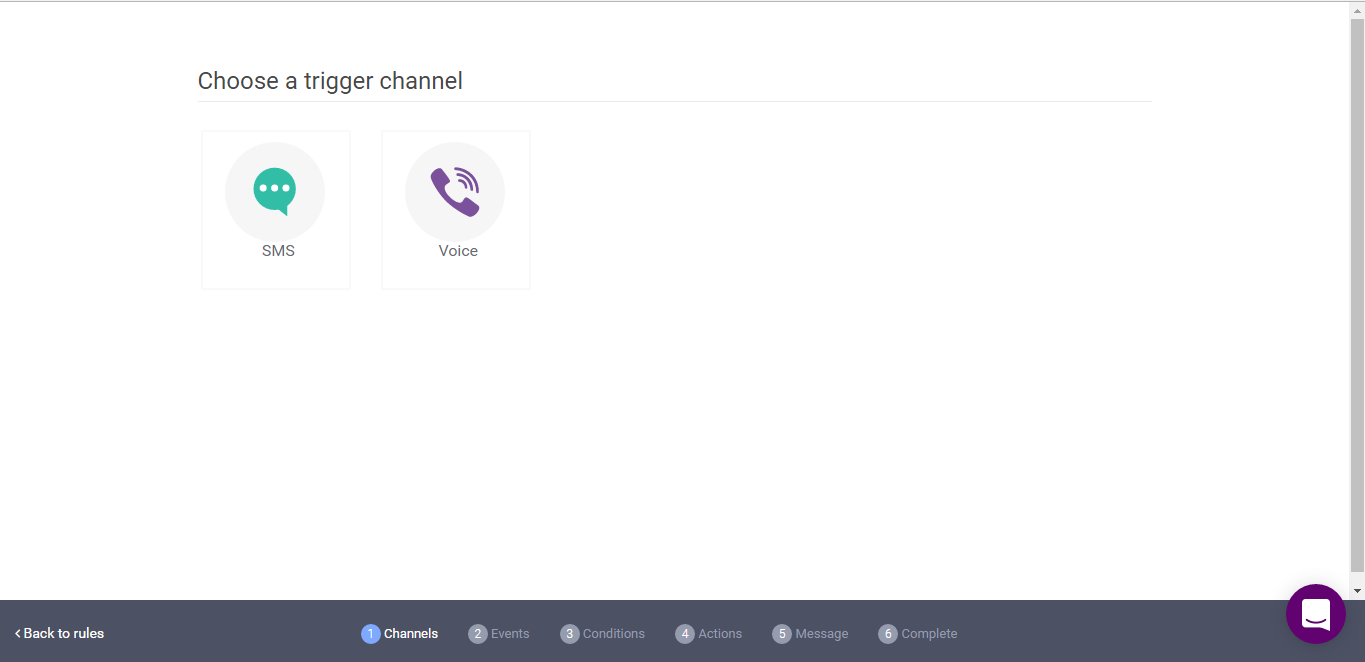
- Select Voice channel to trigger.
- Select the Missed call event to trigger.
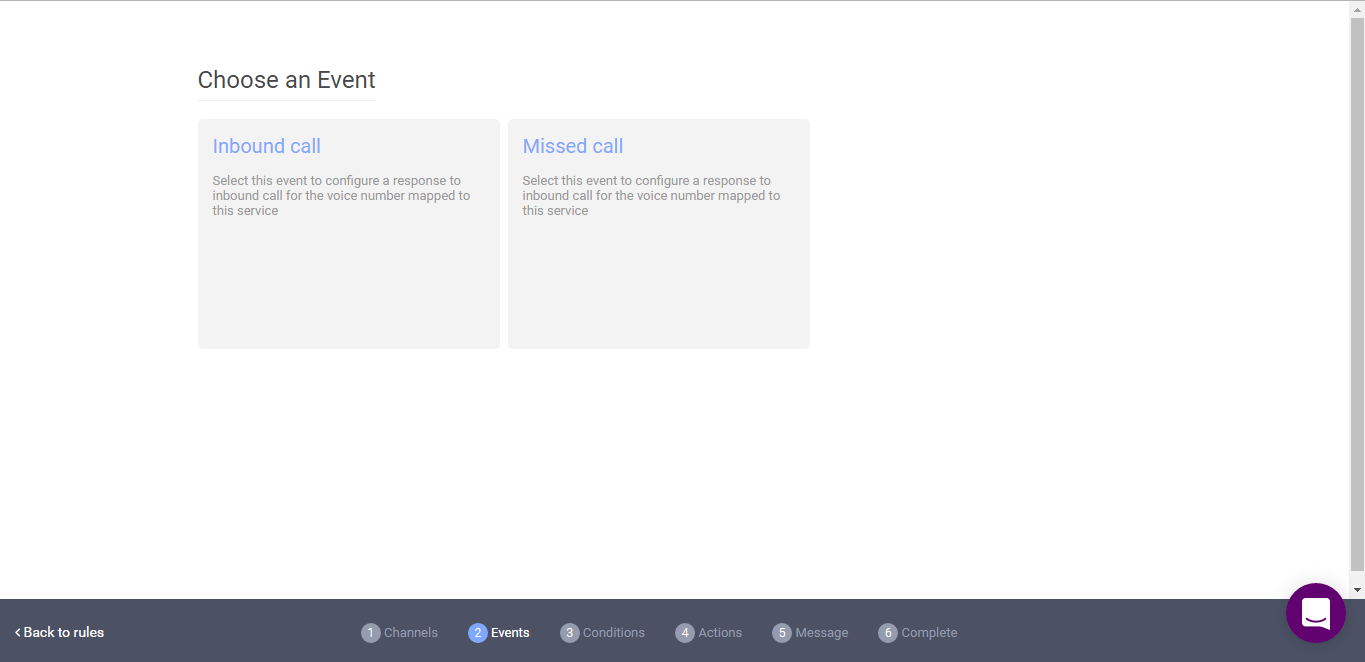
- Add conditions if you want to add conditions for the purchased number or click SKIP TO ACTIONS.
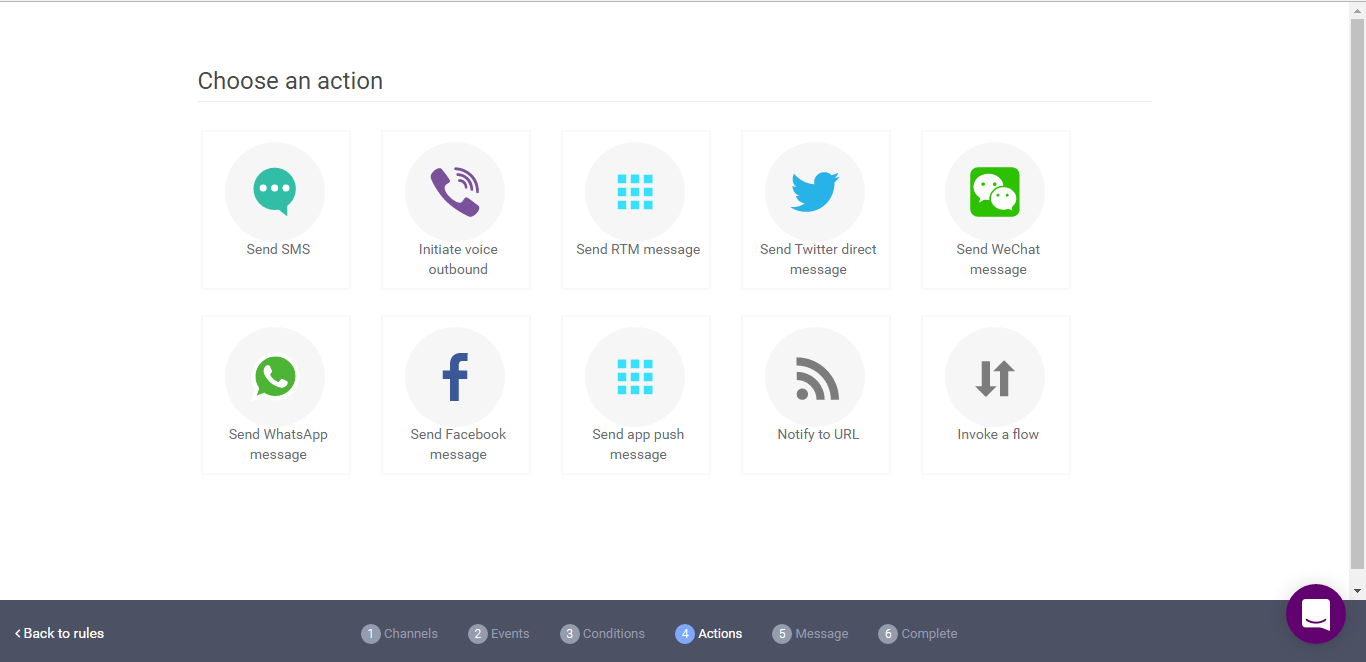
- Click Initiate voice outbound action.
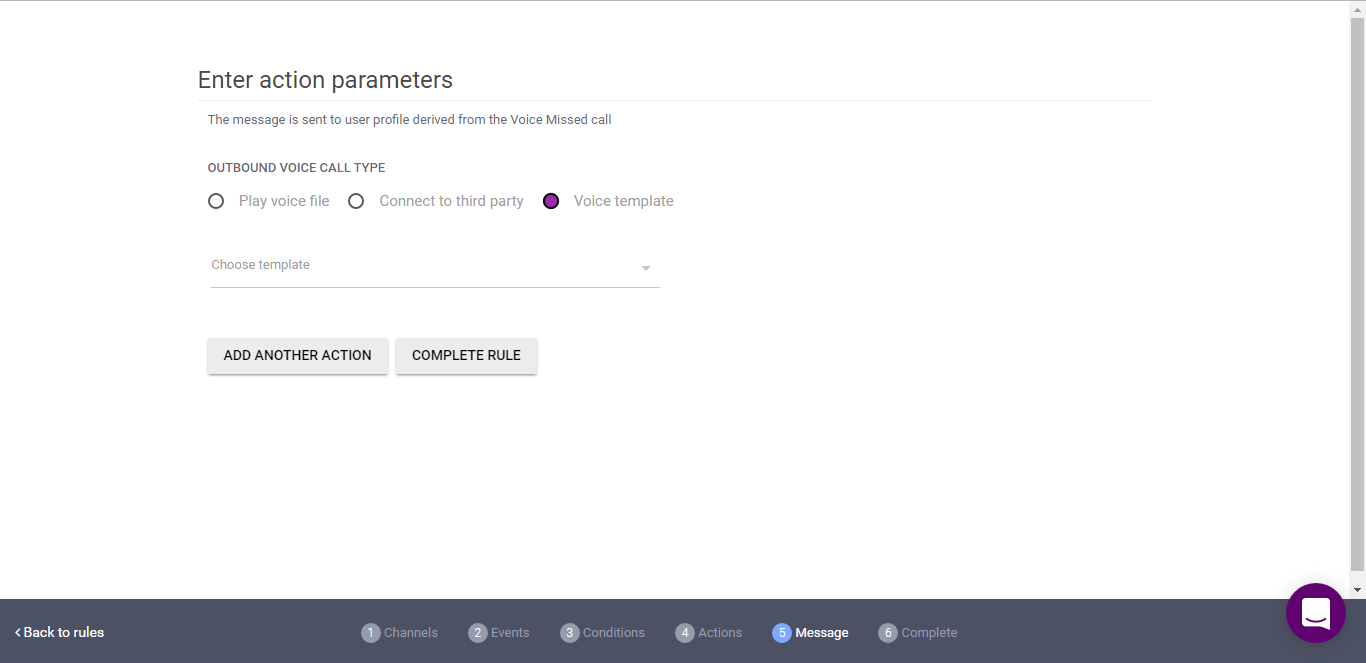
- Select Voice template and select the template from the drop-down. Click COMPLETE RULE.
- Add the following fields to complete your rule:
- Enter a name for your rule name: Enter a name.
- Start Date: Select the date from which the rule should execute.
- End Date: Select the date on which the rule execution should end. It is an optional field.
- Set the status of your rule: Select the status for your rule.
- Enter a URL to notify on rule execution (Optional): Enter a URL to get the rule execution information.
- Click SAVE & SUBMIT.
Now the setup is completed. When you receive a missed call to the number that is purchased, the rule gets executed and an outbound voice call will be initiated. When the customer provides a response, it is notified to the URL that is configured in the voice flow for further analysis.
You are free to experiment further options such as when 2 is pressed, capture city and branch details.
Updated about 3 years ago