Custom Node
Custom Node Integrations allows you to build and design nodes using third party API's.
You can use REST or SOAP API to build a node, Each API integration is available as a node in the flow palette. With all the APIs integrated into a node, you can use it to submit requests and capture responses and configure them to application requirements.
There are a few requirements to build a custom node; you should have all the HTTPS URL ready for REST integration and WSDL file for SOAP integration
There are two types of API Integration
Creating a Custom Node
To create a Node:
- On the services dashboard, click Integrations
- On the New Customer node pop-up, select the type of node you wish to create and then click Next.
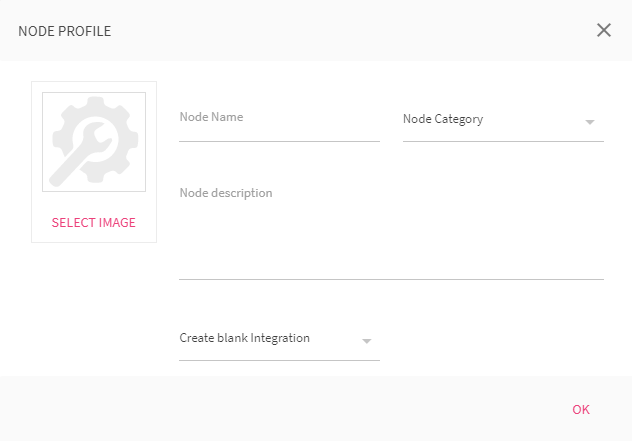
- Define the NODE PROFILE

- Enter a Name for the node
- Choose a Node Category from the drop-down menu.
- Enter the Description of the node you are creating.
- Upload a representational image for the Node(Optional.)
- Choose Create Blank Integration from the drop-down menu.
- Click OK to proceed.
| Field | Description |
|---|---|
| Select Image | Click to upload a relevant image for the node. |
| Node Name | Provide a name to the node that you are creating |
| Node Category | Select a Node category from the drop-down menu, or define your own category. Note category is the grouping of nodes of similar type. |
| Node Description | A brief description of the node that you are creating. |
| Create Blank Integration/ Copy from existing integration | You can either choose to create a fresh new integration or copy from an existing integration and later modify to meet your requirement. |
Once you have successfully created a Custom Node, the node appears in the node palette under the Node Category you have created/selected while creating the Node.
All the Node Categories are listed under the Categories section of the flow builder page.
Updated almost 3 years ago