Logbooks
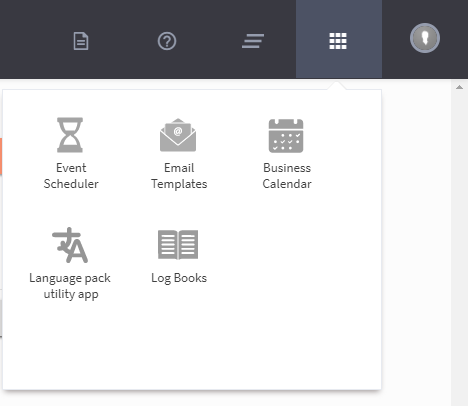
Logbooks App is available in the app tray, click to open and configure as per your flow requirement
Logbooks allow you to record custom data generated during a flow runtime. You can define the custom data attributes and capture under Logbook definition.
Clients can define the data points to be stored as part of the logbook definition, along with the file rotation & file shipping policies. Logbooks can periodically be shipped to FTP, SFTP or AWS S3 locations.
After setting up a Logbook, using the custom logs tab (available in every node in the flow), clients can define the variables to be captured into the Logbook during a flow runtime.
To capture data in a Logbook, we need to configure Logbook at the following locations.
1.Create a Logbook
2.Setup Logbook for the flow
3.Configure Custom Logs (variable) in a node
If you do not find Logbook in your App Tray, please contact your account manager to get the Logbook activated.
Creating a Logbook
- In the App Tray, click Log Books.

- On the Logbooks page, Click ADD LOGBOOKS.
- Define the Logbook,
- Enter the Logbook Name
- Enter the Description of the Logbook.
- Click Save to save the Logbook.
The Logbook configuration detail page in displayed. Configure the Logbook details.
- Click ADD CUSTOM ATTRIBUTES to add log attributes.

- Define the delimiter, choose it from the list and click on the respective radio button.
- Define the File rotation policy,
- Enter the number of records per file.
- Enter the duration of each cycle. ( HH: MM)
- Checkmark the below option as per the log file requirement.
| Add empty file when no records are fond | Checkmark to add an empty file if no records are generated. |
| Includes attributes as file header | Checkmark to include the attributed defined as file headers. |
| Add end of file | Checkmark to add a text at end of the file. |
- Select the Destination path of the file from the drop-down menu and enter the respective details.
FTP |
|
SFTP |
|
AWS S3 |
|
- Enter the file notify URL; a notification is sent to the defined URL when a file is placed at the location.
- Click Save.
The Logbook is created and you can see it on the Logbook page.
Note:
You need to activate the Logbook to use it in the flow.
Click the toggle switch to activate/ deactivate the Logbook.
Updated almost 3 years ago